OXVA XLIM Go 2 manual and user guide
Looking for the XLIM Go 2 instructions? This page gives you the main controls, setup steps, LED meanings and quick answers in one place, so you can find what you need faster without squinting at the leaflet.
It covers how auto-draw works, how to adjust the power, how to fill a new pod properly, what the indicator lights mean, and the key specs that matter most in everyday use.
Shop XLIM Go 2Current price: £9.49
Open XLIM Pod Guide
If you only need the essentials, start with the controls, filling steps and LED prompts below.
Manuals Hub
Pod Compatibility
Troubleshooting
Power Help
Main controls
- Auto-draw to vape
- 3 clicks power change
- Wait 5–8 mins after fill
- LED prompts for warnings
Setup made simpler
Power control explained
LED prompts explained
Key specs at a glance
Quick answer: the main XLIM Go 2 controls
These are the controls most people want first.
Vape
The manual lists auto-draw vaping, so you inhale from the mouthpiece to use it.
Adjust power
Press the button three times within 2 seconds to set your preferred power.
Fill the pod
Fill the e-liquid into the cartridge and close it again as soon as possible.
Prime a new pod
After filling a new pod, wait at least 5 to 8 minutes before vaping.
Quick answer: inhale to vape, press the button 3 times to change power, and always let a fresh pod sit for 5 to 8 minutes before using it.
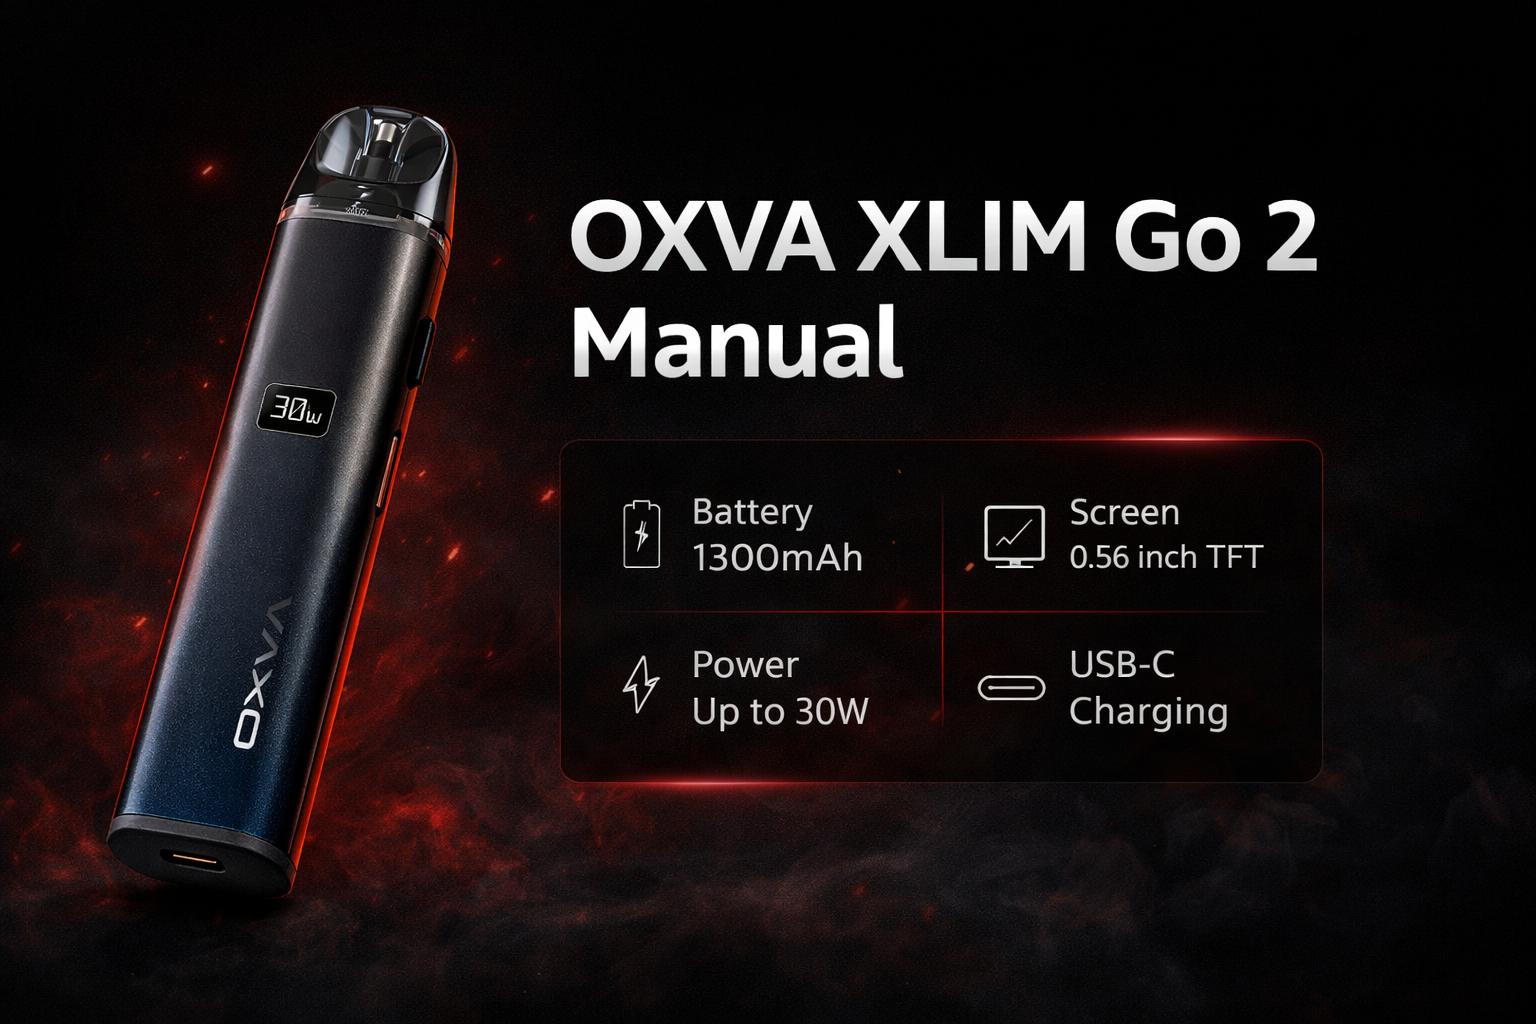
OXVA XLIM Go 2 specifications
These are the main details listed in the manual.
Size
117.4 × 26.4 × 15.0mm
Slim pod device with a rounded body shape.
Pod Capacity
3ml / 2ml
The manual lists both regional pod versions.
Maximum Power
Up to 30W
Manual-listed maximum output of 30 watts.
Output Voltage
3.2–4.35V
The manual lists this voltage range.
Battery
Built-in 1000mAh
The manual lists a built-in 1000mAh battery.
Charging
Type-C 5V/2A
USB-C charging through the port on the base of the device.
Resistance Range
0.33–3.0Ω
Manual-listed supported resistance range.
Activation
Auto-draw
The manual lists auto-draw vaping rather than fire-button vaping.
What is on the XLIM Go 2 device
These are the main parts shown in the manual.
Cartridge
The refillable pod section at the top of the device.
LED
The indicator light gives warning and usage prompts.
USB-C Port
Used for charging the built-in battery.
Button
Used for power adjustment according to the manual.
Airflow Adjustment Valve
The manual shows an airflow adjustment control on the body.
Device Body
Main housing for the battery and controls.
Pod Connection Area
The fit here matters for normal day-to-day use.
Base Charging Area
The charging port sits at the bottom of the device.
How to fill and prime the XLIM Go 2 properly
A rushed first fill is one of the easiest ways to spoil a new pod.
Best filling routine
- Fill the e-liquid into the cartridge carefully
- After filling a new pod, leave it for at least 5 to 8 minutes
- Only then start vaping
- Close the pod as soon as possible after filling
- Take it gently on the first few puffs
Why this helps
- Not waiting long enough can lead to a poor first vape
- Leaving the fill point open too long can increase leaking risk
- People often blame the device when the real issue is poor priming
- A little patience usually gives a much better first experience
The most useful filling tip is simple: after filling a new pod, wait at least 5 to 8 minutes before using it.
LED prompts on the XLIM Go 2
These are the main light meanings listed in the manual.
Blue light
- If the vape lasts over 8 seconds, the blue light flashes 3 times
- The device then stops working until the draw ends
Red light warnings
- High Temperature: red light flashes 5 times and the device stops working
- Low Battery: red light flashes 10 times
- Short Circuit: red light flashes 3 times
If the XLIM Go 2 is flashing red, check whether the issue is temperature, battery level or a short warning before carrying on.
Important safety points
These are the simple habits worth keeping in mind from the manual.
Good habits
- Use the correct Type-C charging setup
- Keep the device away from inflammable and explosive materials
- Check the pod is fitted properly before using it
- Use the device in normal working condition
Do not ignore
- Do not leave the device unattended while charging
- Do not ignore repeated red light warnings
- Do not carry on as normal if the pod fit feels wrong
- Do not rush a freshly filled pod
OXVA XLIM Go 2 manual FAQ
Quick answers to the most common XLIM Go 2 setup, controls and usage questions.
How do I use the OXVA XLIM Go 2?
The manual lists auto-draw vaping, so you inhale from the mouthpiece to use the device.
How do I adjust the power on the XLIM Go 2?
Press the button three times within 2 seconds to adjust your preferred power.
How long should I wait after filling a new XLIM Go 2 pod?
Wait at least 5 to 8 minutes before vaping on a newly filled pod.
What pod capacity does the XLIM Go 2 manual list?
The manual lists 3ml and 2ml versions depending on region.
What is the battery size of the OXVA XLIM Go 2?
The manual lists a built-in 1000mAh battery.
What is the maximum power of the XLIM Go 2?
The manual lists a maximum output of 30W.
What charging type does the XLIM Go 2 use?
The manual lists Type-C charging at 5V/2A.
What resistance range does the XLIM Go 2 support?
The manual lists a resistance range of 0.33Ω to 3.0Ω.
Does the XLIM Go 2 have airflow adjustment?
Yes. The manual shows an airflow adjustment valve on the device.
What does the blue light mean on the XLIM Go 2?
The manual lists the blue light flashing 3 times when the vape exceeds 8 seconds and the device stops working.
What does the red light mean on the XLIM Go 2?
The manual lists red light prompts for high temperature, low battery and short circuit warnings.
What does the high temperature warning mean?
The manual says the red light flashes 5 times and the device stops working when the temperature is too high.
What does the low battery warning mean?
The manual says the red light flashes 10 times when the battery is low.
What does the short circuit warning mean?
The manual says the red light flashes 3 times for a short circuit warning.
What should I do if the XLIM Go 2 pod is fitting badly?
Check that the pod is seated properly and do not force it. If it still feels wrong, inspect the pod and connection before carrying on.
Should I leave the XLIM Go 2 charging unattended?
No. The manual says not to leave the device unattended while charging.
What should I do if the device keeps flashing warnings?
Check the pod fit, battery level and overall device condition before using it again as normal.
Do I still need the full PDF manual?
For everyday questions like setup, power adjustment, filling and LED warnings, the steps above usually give you the fastest answer.
Once the basics are sorted, choose the guide that matches your next question
Most people next need help with pod choice, troubleshooting or power advice, so those guides are the best follow-up once the main controls are clear.
Open XLIM Pod Guide
Open Troubleshooting
Open Manuals Hub
The answers above are based on the XLIM Go 2 manual and rewritten to make the device easier to use day to day.